

My blog.
All posts
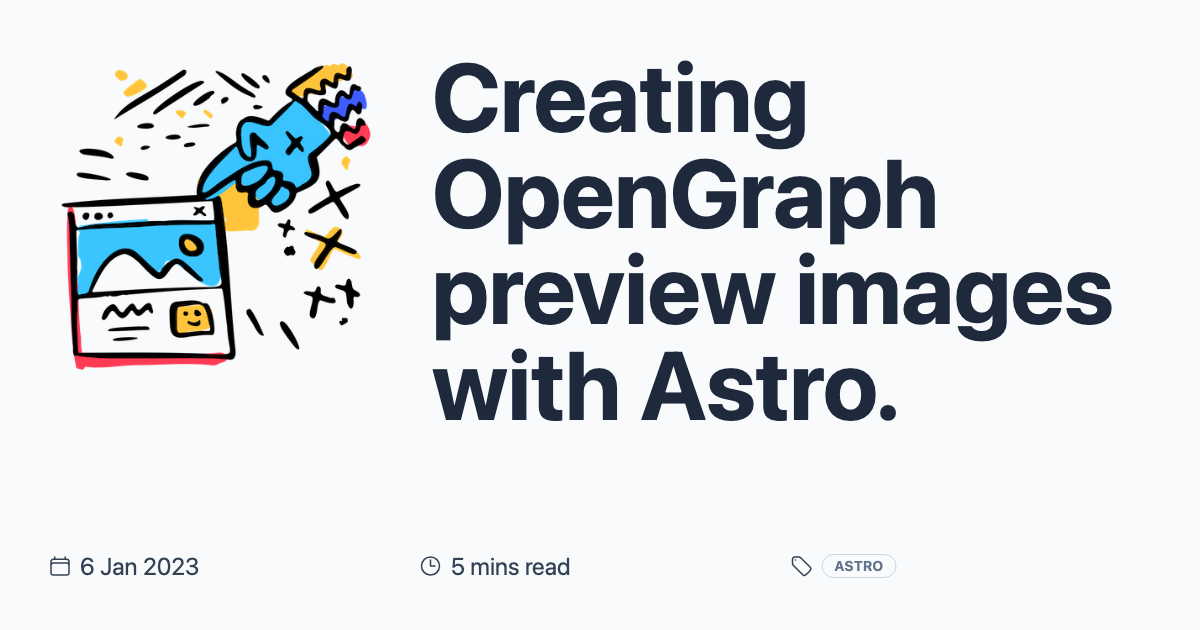
Creating OpenGraph preview images with Astro
In this blog post we’re looking at generating Open Graph preview images and how this is handled on this site.
What are OpenGraph preview images?
You’ve seen them about, they’re the preview images that appear when you share a webpage on your favourite social media platform. They’re eye-catching and give the reader an visual indication of what to expect if they click the link. Specifically they’re part of the Open Graph protocol which “enables any web page to become a rich object in a social graph”. GitHub has fantastic Open Graph preview images ones and wrote a blog post about their approach.
Here’s the one that’s generated for this blog post:
Is this a solved problem?
There’s plenty of options and some CMSs / frameworks have built in tools for this. At time of writing there aren’t any specific options available for Astro. The previously mentioned Github example is open source. Vercel recently released the @vercel/og library that generates these images just-in-time in edge compute. That’s pretty cool, but so is building things yourself in the spirit of learning (which for me is one of the best things about a personal site).
How to generate Open Graph images?
The approach we’re going to take is pretty simple, let’s break it down…
- Create a template for our preview images
- For each blog post, populate the template and take a screenshot
- Automate step 2 for speed and consistency
1. Create a template for our preview images
---
// ./src/pages/opengraph/[slug].astro
import type { InferGetStaticPropsType } from "astro";
import BlogPostMeta from "../../components/BlogPostMeta.astro";
import { getCollection } from "astro:content";

export async function getStaticPaths() {
    const allBlogPosts = await getCollection("blog", ({ data }) => !data.draft);

    return allBlogPosts.map((entry) => ({
        params: { slug: entry.slug },
        props: { entry },
    }));
}
type Props = InferGetStaticPropsType<typeof getStaticPaths>;

const { heroImage, title, timeToReadMins, pubDate, tags } =
    Astro.props.entry.data;
---

<div class="w-[1200px] h-[630px] bg-slate-50 p-12 flex flex-col relative">
    <div class="grid gap-12 grid-cols-3 flex-grow">
        <div>
            <img src={heroImage} alt={title} />
        </div>
        <div class="col-span-2">
            <h1 class="font-bold text-8xl text-slate-800">
                {title}.
            </h1>
        </div>
    </div>

    <div class="text-2xl">
        <BlogPostMeta
            timeToReadMins={timeToReadMins}
            pubDate={pubDate}
            tags={tags}
        />
    </div>
</div>
Here we have a simple Astro template that sits on a dynamic route. As my site is
compiled completely statically, we can provide a getStaticPaths() using the
new getCollection() helper function. This tells Astro all the different
instances of this template that can exist.
Once that is setup, it’s a simple case of rendering out some markup for our design. Here you can see I’m using Tailwind arbitrary values to define a 1200px x 630px container, which is the recommended size for Open Graph images.
You can see here I’m also making reuse of my <BlogPostMeta/> component used in
the masthead of this article.
2. For each blog post, populate the template and take a screenshot
// ./src/utils/getOpenGraphImages.js
const fs = require("fs");
const puppeteer = require("puppeteer-core");
const { readdir } = require("fs/promises");

const OUTPUT_PATH = "./public/ogimages"; // where the created screenshots will go
const CHROME_PATH =
    "/Applications/Google Chrome.app/Contents/MacOS/Google Chrome"; // Chrome on your local machine
const POSTS_PATH = "./src/content/blog"; // blog post content directory
const POSTS_FILE_EXTENSION = ".mdx"; // file type used for posts
const OPEN_GRAPH_ROOT_URL = "http://localhost:3000/opengraph"; // where are we rendering the OGImages?

// Creates the output directory if it doesn't exist, ensures it's empty
const prepareOutputDirectory = () => {
    if (!fs.existsSync(OUTPUT_PATH)) {
        fs.mkdirSync(OUTPUT_PATH, { recursive: true });
    }

    fs.rm(OUTPUT_PATH, () => null);
};

// Creates a screenshot from a given URL
const takeScreenshot = async (url) => {
    const browser = await puppeteer.launch({
        product: "chrome",
        args: [],
        executablePath: CHROME_PATH,
        headless: true,
    });

    const page = await browser.newPage();

    await page.setViewport({ width: 1200, height: 630 });
    await page.goto(url);
    await page.screenshot({
        path: `${OUTPUT_PATH}/${url.replace(OPEN_GRAPH_ROOT_URL, "")}.png`,
    });
    await browser.close();
};

// Gets all .mdx files in the blog directory
const getBlogPostSlugs = async () => {
    const filenames = await readdir(POSTS_PATH);

    // Astro uses file name routing, so the slug is identical to the file name, minus the file extension
    return filenames
        .filter((filename) => filename.endsWith(POSTS_FILE_EXTENSION))
        .map((filename) =>
            filename.replace(POSTS_FILE_EXTENSION, "").toLowerCase()
        );
};

// Converts filenames into URLs for the screenshot
const getOpenGraphUrls = (slugs) =>
    slugs.map((slug) => `${OPEN_GRAPH_ROOT_URL}/${slug}`);

// Main function
(async () => {
    prepareOutputDirectory();
    const blogPostSlugs = await getBlogPostSlugs();
    // get URLs for all blog posts and a generic one used for any other page on the site
    const urls = getOpenGraphUrls([...blogPostSlugs, "page"]);

    urls.forEach(async (url) => {
        await takeScreenshot(url);
    });

    // eslint-disable-next-line no-console
    console.log(`📸 Successfully created ${urls.length} screenshots`);
})();
Here’s a small Node task that finds all our blog posts and converts them into an array of URLs for Puppeteer to visit and screenshot, these then get saved into a directory.
I also create a generic image which I use for all pages which aren’t blog posts.
3. Automate step 2 for speed and consistency
We can add an npm script to our package.json to easily run this script.
// ./package.json
"scripts": {
    "ogimgs": "node ./src/utils/getOpenGraphImages.js"
},
Now you can add a Husky pre-commit hook, to automate this task on every commit so you never forget.
I hope you’ve found this interesting - while this solution is based around Astro as a framework a similar approach could definitely be applicable elsewhere.
Loading likes...